小伙伴们知道Microsoft Excel 2016如何制作虚线边框吗?今天小编就来讲解Microsoft Excel 2016制作虚线边框的方法,感兴趣的快跟小编一起来看看吧,希望能够帮助到大家。
第一步:打开Excel 2016软件,进行软件工作界面;
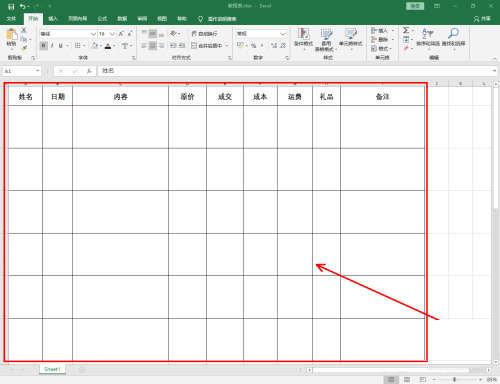
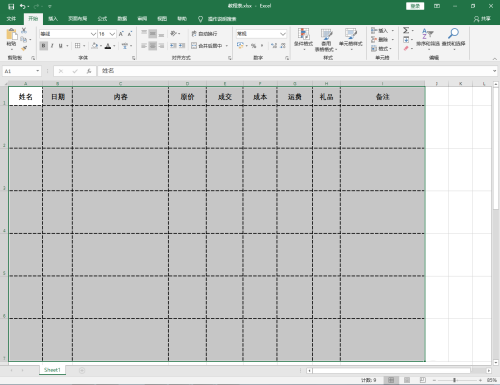
第二步:首先,我们制作一个需要设置虚线边框的工作表格(如图所示);
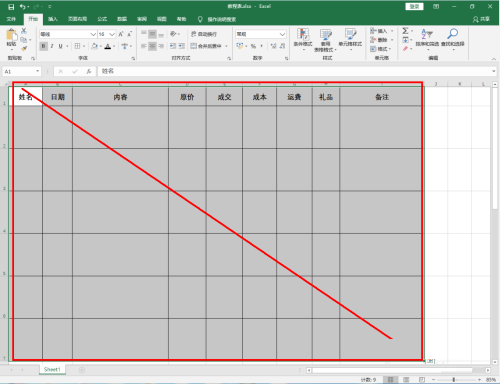
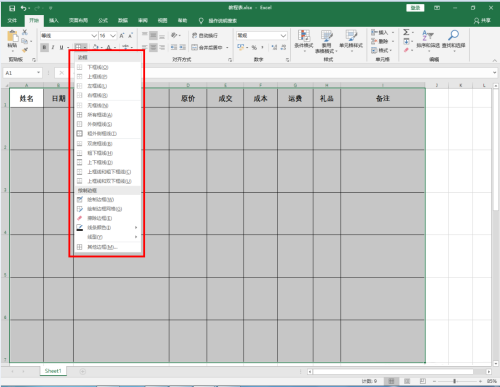
第三步:框选图示工作表,点击【边框】右边的小三角,弹出边框选项栏;

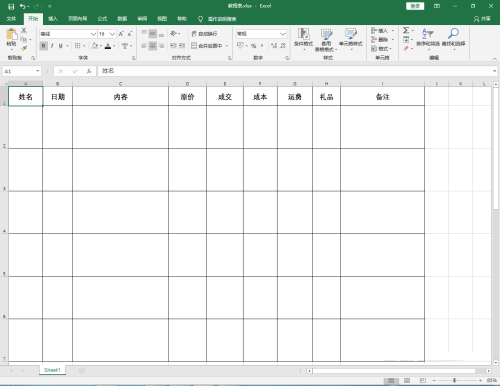
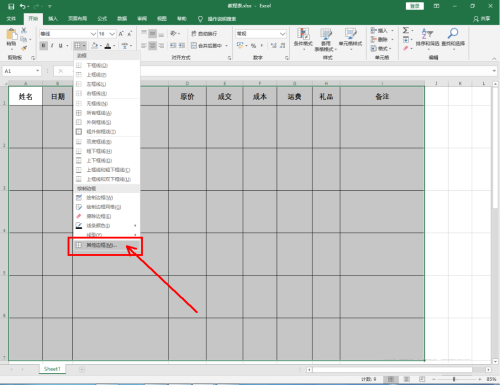
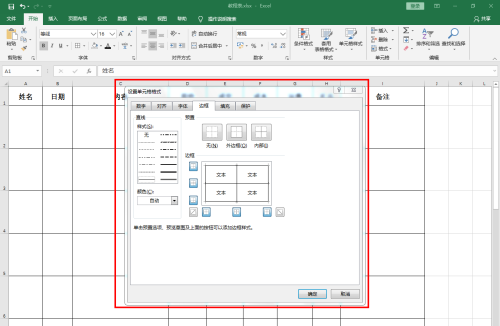
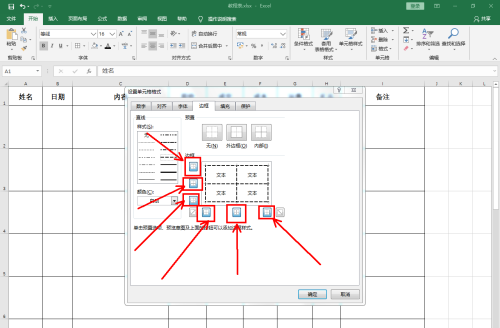
第四步:点击【其他边框】,弹出其他边框设置栏后,选择【虚线】并指定给表格各边线(如图所示);
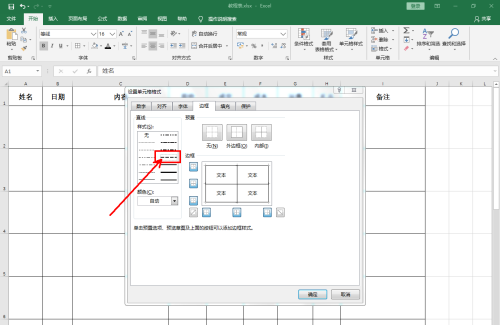
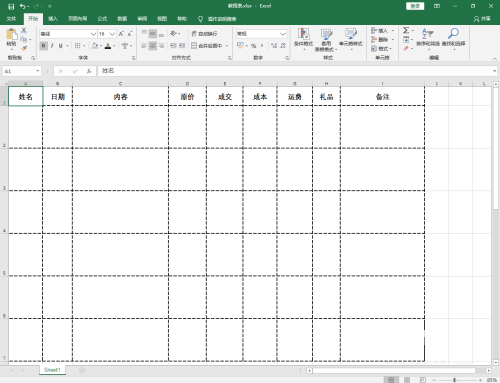
第五步:最后,点击【确定】确认,这样我们的虚线表格就设置完成了。


以上就是小编给大家带来的Microsoft Excel 2016如何制作虚线边框的全部内容,希望能够帮助到大家哦。