VS2012如何使用Git-VS2012使用教程
时间:2020-09-10来源:华军软件教程作者:凹凸曼
有些伙伴可能还不熟悉VS2012这款软件,为此,这里笔者就专门为大伙分享了关于VS2012使用Git的操作内容,有需要的朋友不要错过哦。
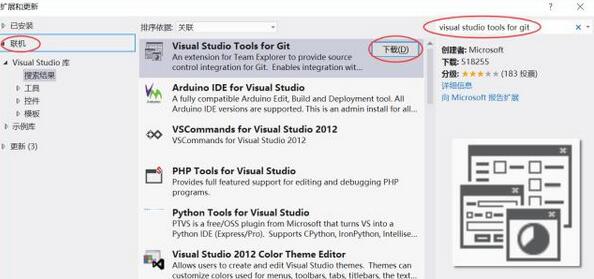
1、Visual Studio Tools for Git
扩展和更新,联机搜索visual studio tools for git,
注意:VS2012需要安装SP2的补丁,该补丁包大约1.8G。
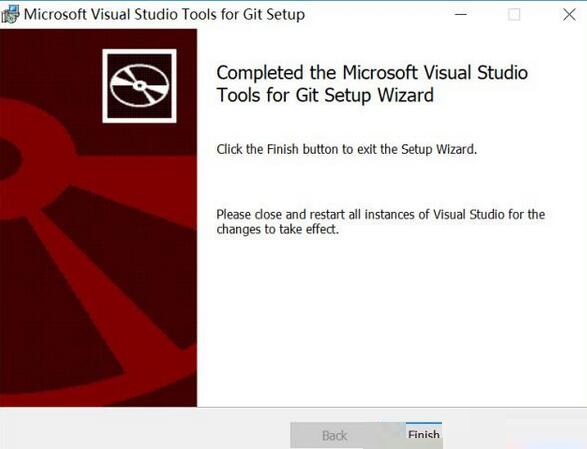
安装完成,
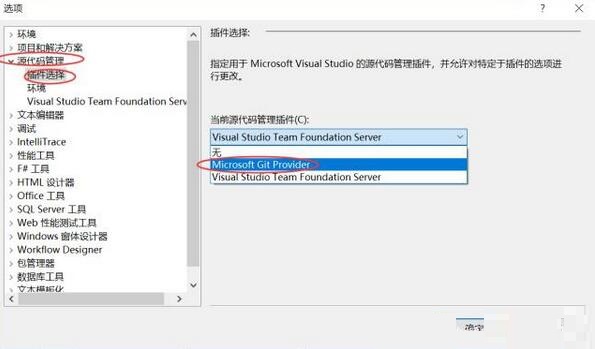
配置Visual Studio 2012使用Microsoft Git Provider作为源代码管理插件,
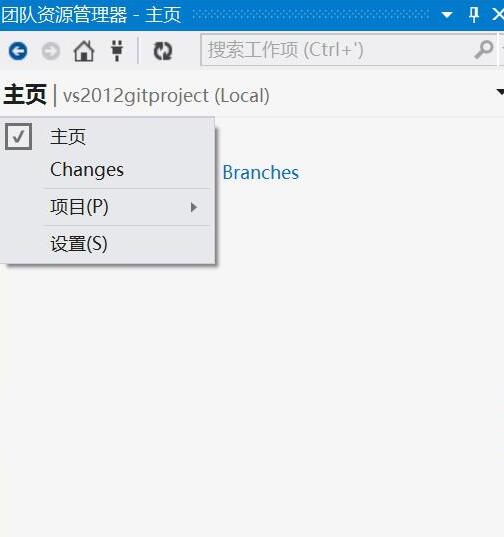
创建项目和GitLab进行交互操作,具体实际案例显示效果如图所示:
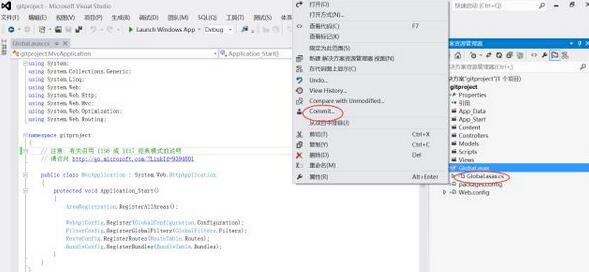
修改文件后,右键显示提交信息,如图所示:
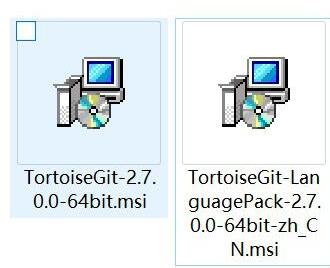
2.TortoiseGit
安装两个文件,一个安装包,一个中文汉化包,如图所示:
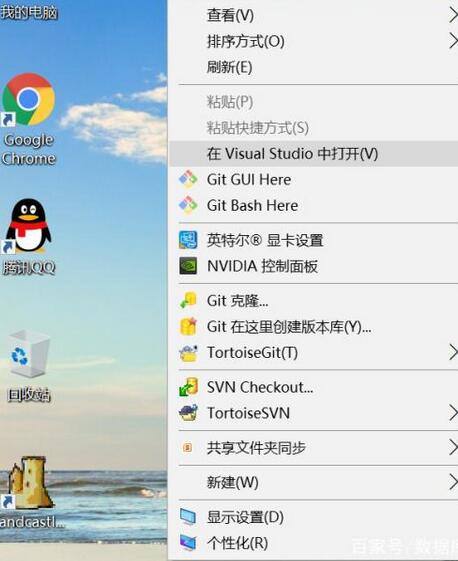
安装完右键任意位置显示效果,如图所示:
以上这里为各位分享了VS2012使用Git的操作内容。有需要的朋友赶快来看看本篇文章吧。
热门推荐
-
猿编程
版本: 5.25.1大小:165 MB
猿编程官方版是一款界面美观、功能实用、操作便捷的少儿编程学习工具,面向7至12岁青少年提供在线编程...
-
Python
版本: 3.14.6大小:27.5MB
Python是一款简洁高效的高级编程语言,以清晰易懂的语法著称,无需复杂类型声明,上手门槛低。它支持面向对象...
-
Python
版本: 3.14.6大小:27.5MB
Python官方版是一款相当出色的通用型编程语言,它是一种通用编程语言,广泛应用于Web开发、数据分析、人工智...
-
python
版本: 3.14.6大小:10.35 MB
python官方版是一款编程软件。python最新版会促进了语法信息,数据库服务,信息改进以及综合目标调整上的全程...
-
Python
版本: 3.14.6大小:27.5MB
Python是一款简洁高效的解释型高级编程语言,以清晰语法和动态类型著称,支持面向对象、函数式等多种编程范...