怎么使用Global Mapper生成等高线呢?可能有很多朋友还不会,那么还不会的朋友赶快来和小编一起学习一下Global Mapper生成等高线的方法吧,希望通过本篇教程的学习,可以帮助到大家。
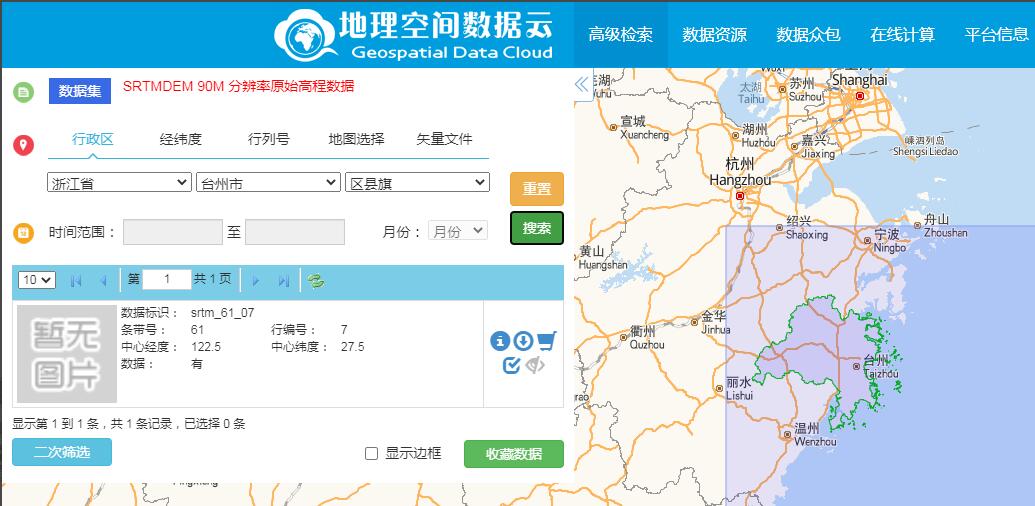
1.首先在“地理空间数据云”下载SRTMDEM 90M 分辨率原始高程数据。所谓DEM,就是高程模型。你也可以下载其他版本精度的数据。
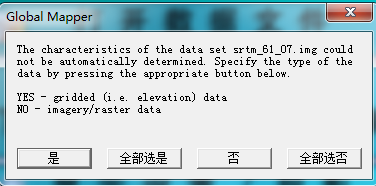
2.将下载的压缩包拖入Global Mapper,弹出提示框点“是(yes)”。这是让你选择是高程数据还是影像数据。之后机器自动完成加载。
3.点击“分析”(Analysis),在下拉菜单中选择“生成等高线”(Cenerate Contours),弹出以下窗口。
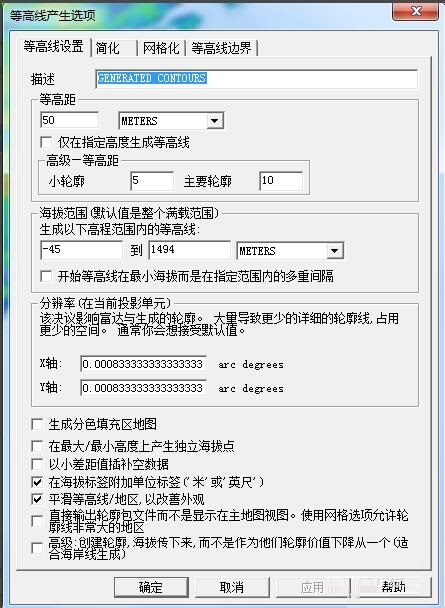
4.在“等高线设置”(Contour Options)中的“等高距”(Contour Interval)中填“50”,意思是等高距50米。“高级”和“海拔范围”可以不用管。“分辨率”一般默认就是最大,我们不改它。勾选选项的第四项和第五项,以生成高度标签和平滑等高线。
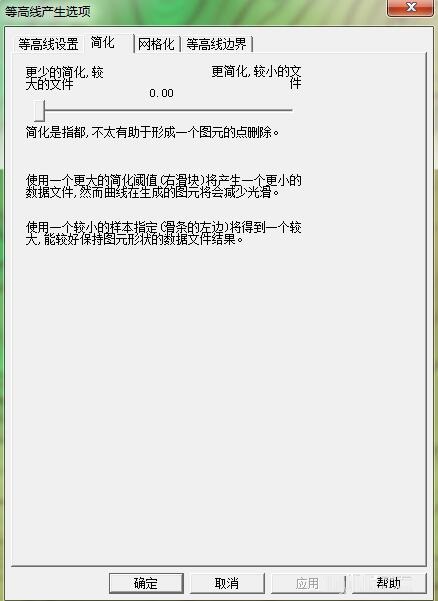
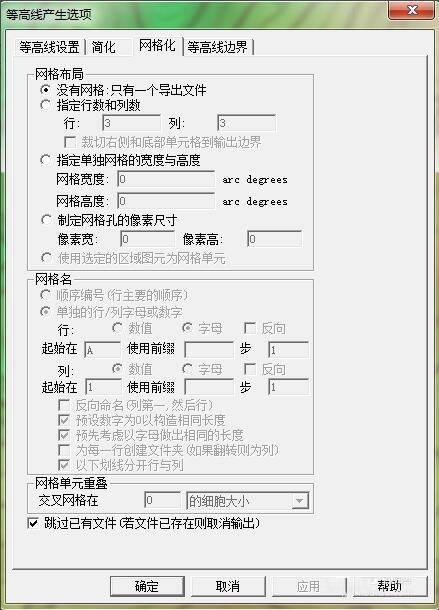
5.点击“简化”(Simplifiction),将横条拉倒最左,也就是没有简化。
6.“网格化”(Gridding)中点最下面的“跳过已有文件”(Skip Existing Files)。
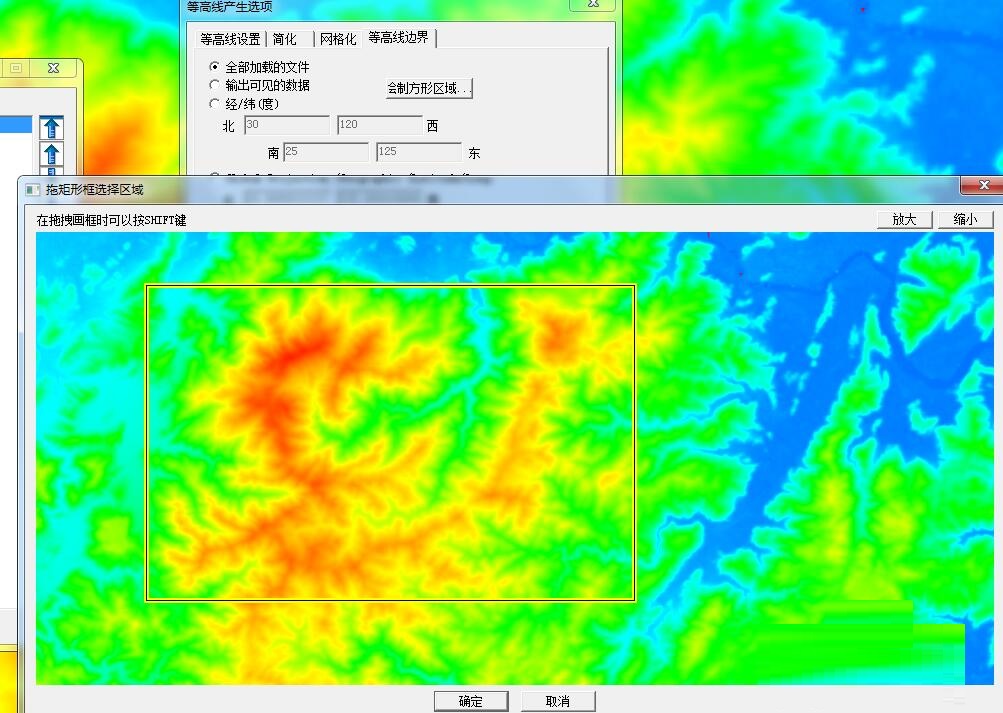
7.在“等高线边界”(contour bourds)选择你要生成等高线的区域。有两种方法,一种是直接输入经纬度,一种是点击“绘制方形区域”(Draw a Box),框选想要的区域。然后点“确定”(OK)。
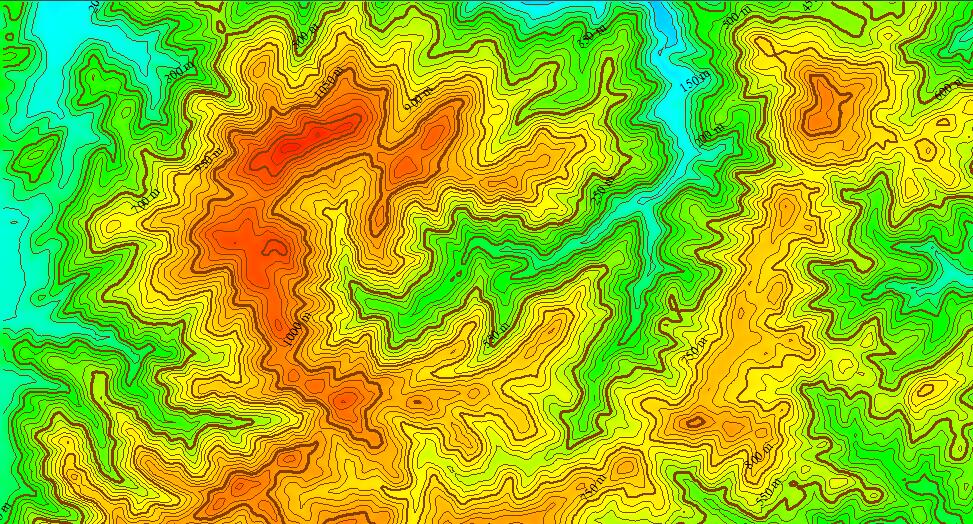
8.机器会自动生成等高线,电脑配置越好,等高线生成越快。
然后,我们要的等高线就生成好了。
以上就是小编分享的Global Mapper生成等高线的方法,有需要的朋友可以来看看哦。