有那么一部份新手朋友表示自己入手premiere却还不会新建序列文件,其实很简单的,这里小编就专门为大家分享premiere新建序列文件的图文教程,一起来看看吧!
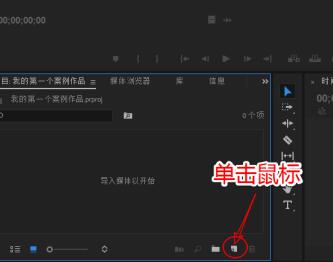
打开premiere主程序,在项目面板上找到“新建”图标,单击鼠标左键调出菜单。
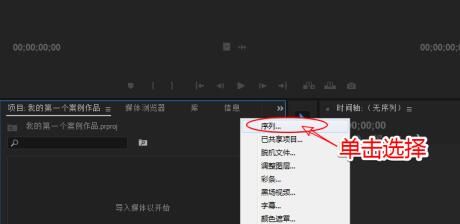
在弹出的菜单选项,选择“序列”命令。
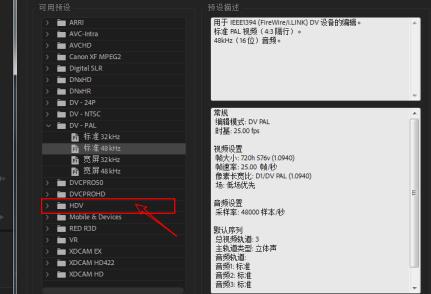
在弹出的窗口,找到序列HDV预设,点击鼠标展开它。
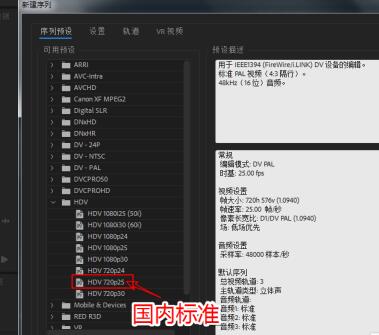
将序列预设更改为:HDV 720p25,这是亚洲地区比较常用的标清预设。
注:720p25 指的是分辨率 1280×720,每秒播放25幅画面(帧)。
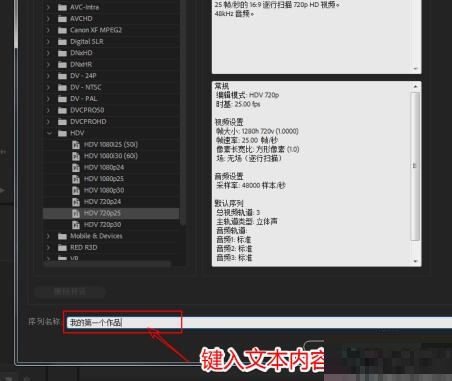
可以在“序列名称”输入栏,键入一个合理易查询的序列名。
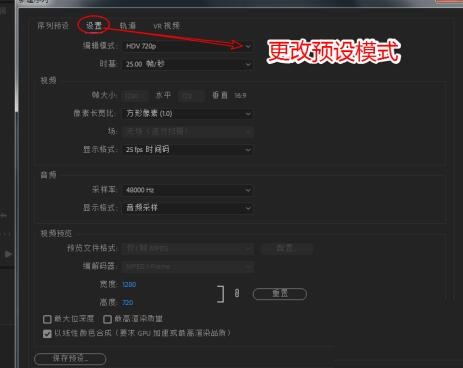
若发现你想要的预设,premiere没有提供,那么还可以点击“设置”面板,更改编辑模式的预设。
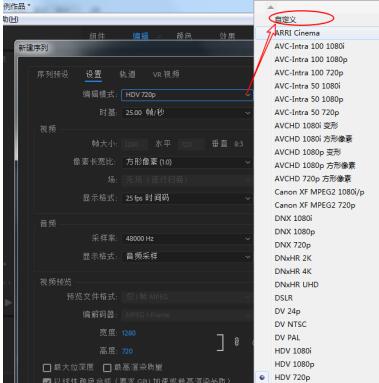
将编辑模式设为:自定义,这样就可以自己设定一个预设了。
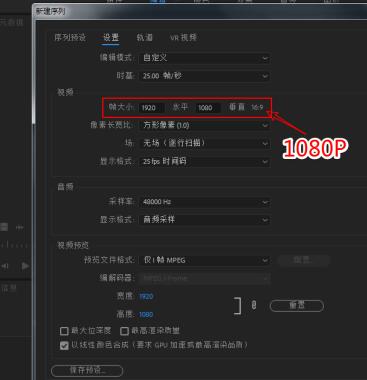
例如将这里的 1280×720 的帧大小,更改为:1920×1080 的帧大小。
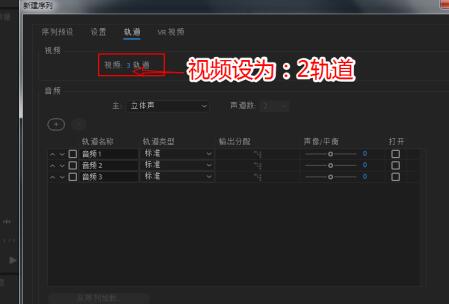
通过鼠标单击“轨道”面板,可以自由更改视频轨道的数量。
注:一般来说,简单的作品只要2个视频轨道即可。
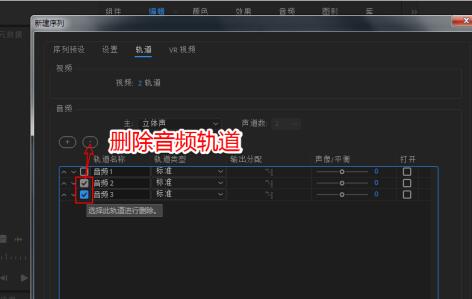
还可以将暂时用不到的音频轨道勾选,点击“-”号将其移除。
以上这里为各位新手用户提供了premiere新建序列文件的图文教程。有需要的朋友赶快来看看本篇文章吧。


