带有特效的文字总是会吸引大家的眼球。而今日小编要演示的是关于通过Fireworks为文字做出投影效果的详细操作步骤哦,有需要的朋友快来看看吧。
在画布上输入文字后,选中文字时下方会出现文字属性面板。
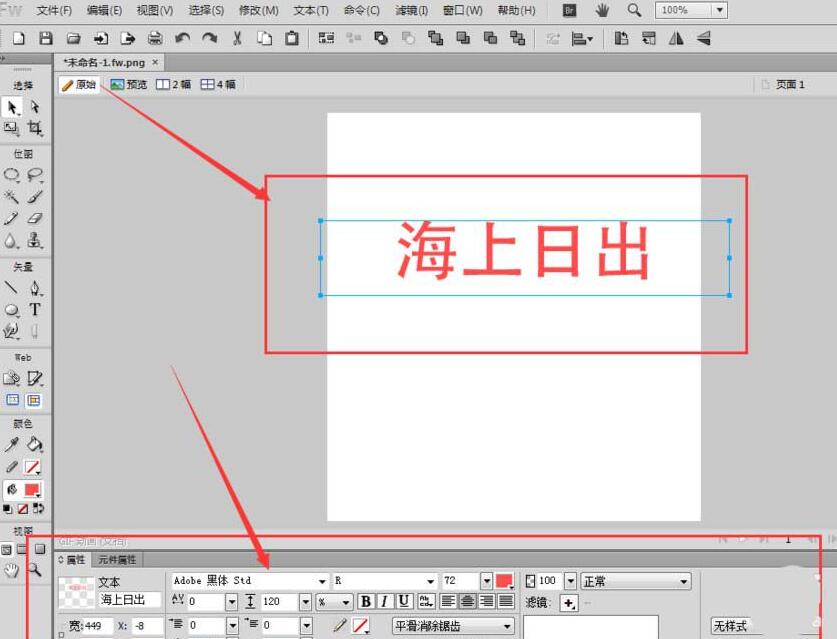
在属性里找到滤镜添加的符号,如图,点击打开。

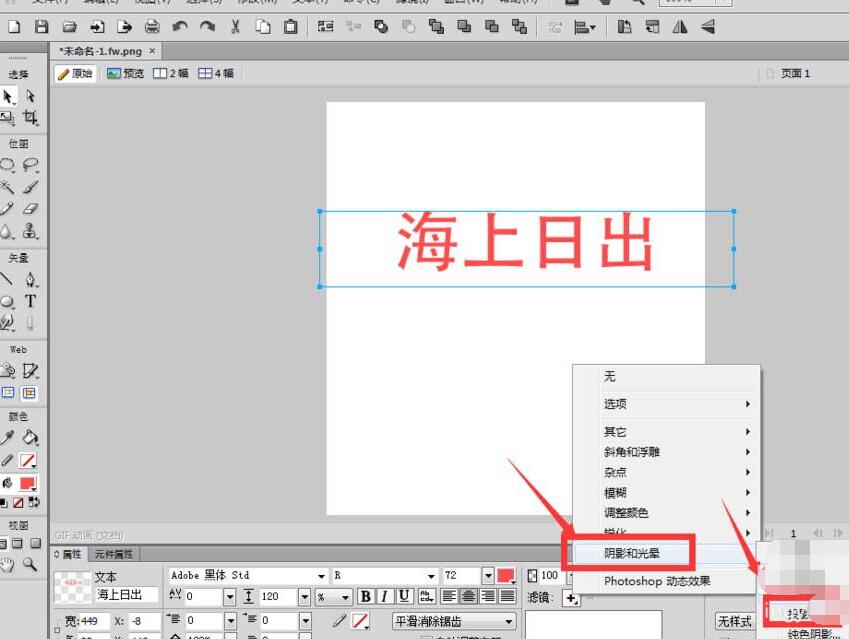
在滤镜库中,找到阴影-投影效果添加。
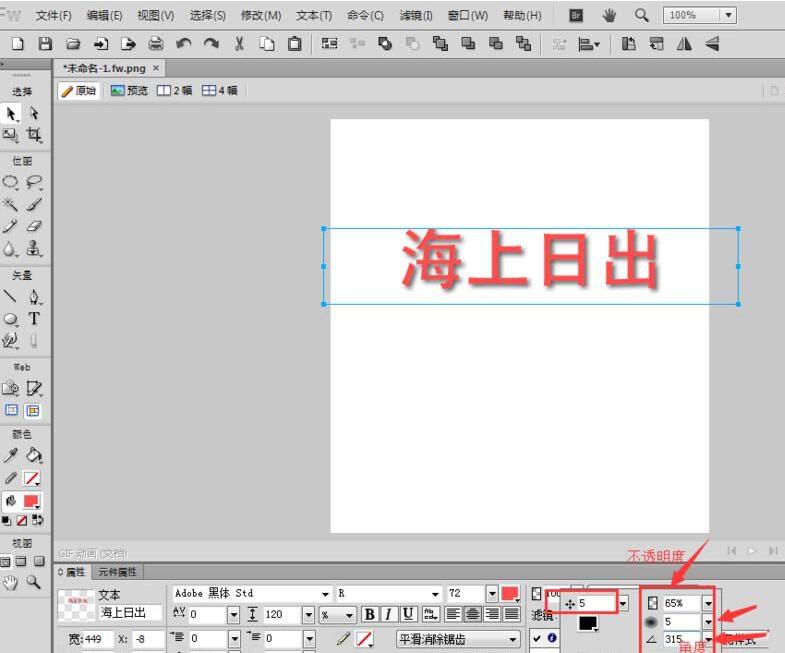
打开滤镜效果后,会出现一个小的属性调节栏,如图选中部分,是扩展范围,数值越大,所作出的投影效果越远,如图。

右侧的三个属性栏,分别为不度、扩散、以及角度设置。
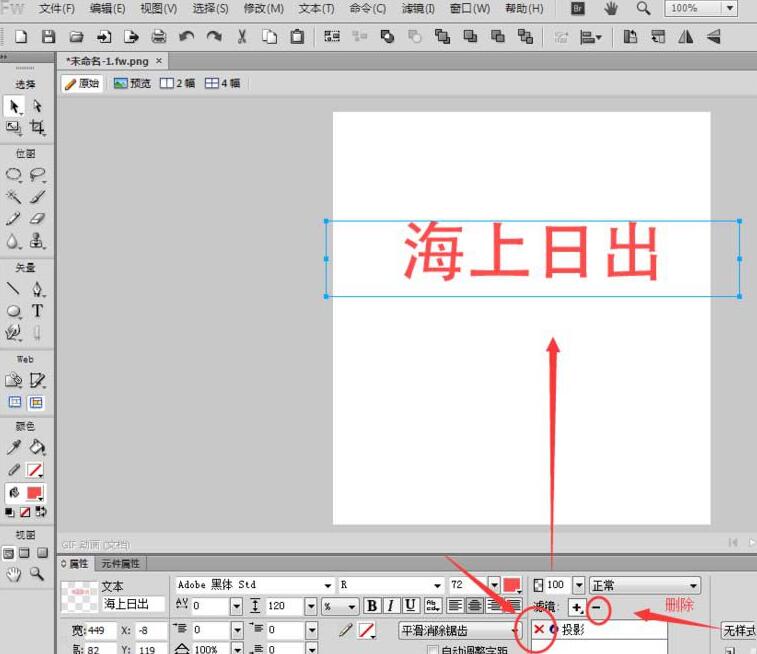
添加好投影属性后,就会在滤镜下面显示投影的选项,如图;点击前面当出现叉号的时,就会关闭投影效果,若想要删除效果,点击右侧的加号,就可以删除。
以上这里为各位分享了Fireworks为文字做出投影效果的详细操作步骤。有需要的朋友赶快来看看本篇文章吧。