才安装ps软件的额一些网友还不熟悉打造艺术字的操作,今天小编就讲解ps打造艺术字的操作过程,相信大家通过学习,在以后的操作中一定会得心应手。
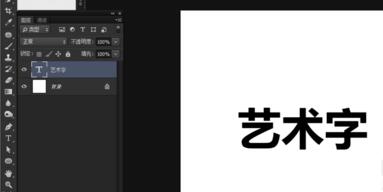
1、打开ps,按下Ctrl+N新建画布,选择左侧工具栏的文字工具,输入文字
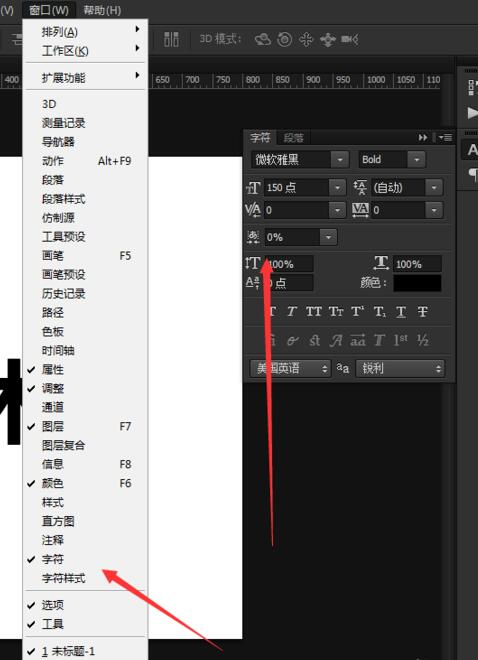
2、在菜单栏上点击窗口→字符
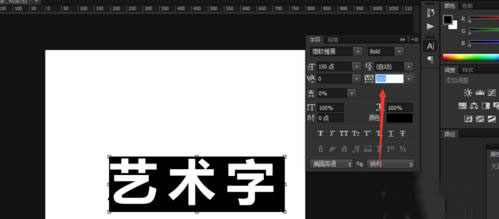
3、在弹出的字符窗口上调整字间距
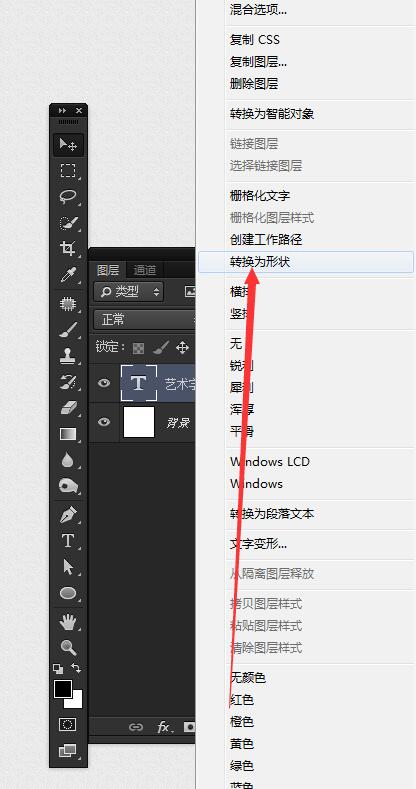
4、在鼠标右键点击字体图层,选创建工作路径
5、在左侧工具栏中选钢笔工具,再对字体路径进行修改

6、把对正角改成圆角
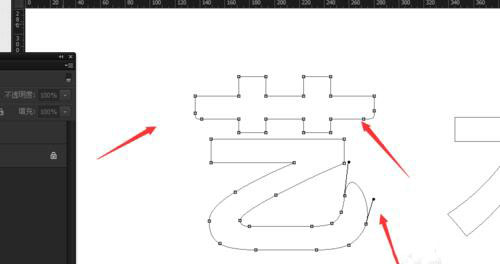
7、对字体一些接触,使它们某一笔画连在一起
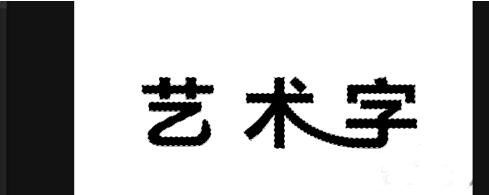
8、按住ctrl+enter转化为选区,填充颜色
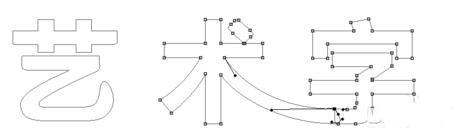
9、再做进行调整

10、结合所有字体的排版

11,最终效果如下

上面就是小编为大家带来的ps打造艺术字的详细操作过程,一起来学习学习吧。相信是可以帮助到一些新用户的。