小伙伴们知道Microsoft office 2010完整版怎么进行图片处理吗?今天小编就来讲解Microsoft office 2010完整版进行图片处理的方法,感兴趣的快跟小编一起来看看吧,希望能够帮助到大家呢。
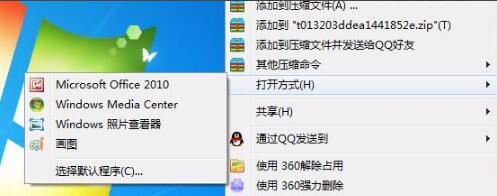
第一步:选中预调整的图片,右键选择“打开方式”对话框(如图所示)。
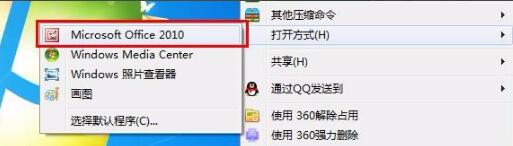
第二步:单击选择“Microsoft office 2010”(如图所示)。
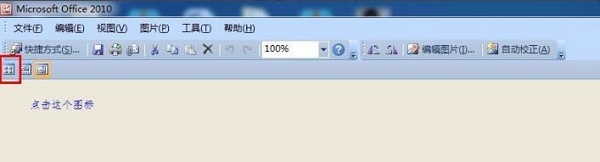
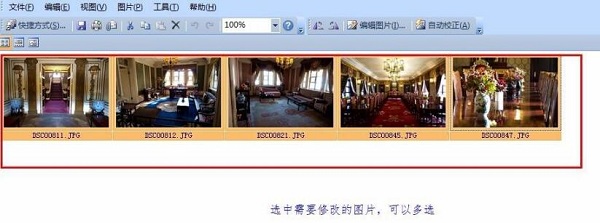
第三步:打开Microsoft office 2010,点击左上角图标,显示你图片所在文件夹里的所有图片,单击选择你需要修改的图片,可以多选,按下“ctrl+A ”,选中所有图片(如图所示)。
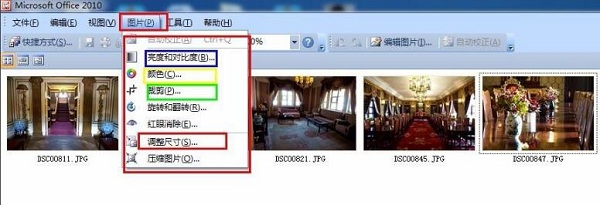
第四步:找到“图片”工具,点击“调整尺寸”,根据自己的需求进行照片尺寸的调整,还有调整图片颜色亮度等功能(如图所示)。
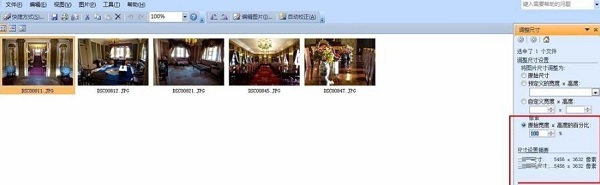
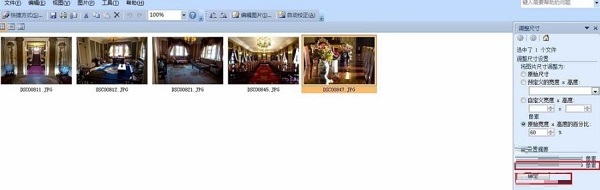
第五步:选择“调整尺寸”之后,可以在右侧看到图片大小信息,根据需要输入百分比,可以实时查看图片大小,满足要求,最后点击确定完成(如图所示)。
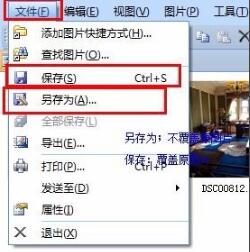
第六步:最后保存,在“文件”下拉中选择“另存为”进行保存,这样不覆盖原图片,或者使用“ctrl+s”进行保存,覆盖原图片(如图所示)。
以上就是小编给大家带来的Microsoft office 2010完整版怎么进行图片处理的全部内容,希望能够帮助到大家哦。