近日有一些小伙伴咨询小编Photoshop CS6如何制作3D立体字效果?下面就为大家带来了Photoshop CS6制作3D立体字效果的方法,有需要的小伙伴可以来了解了解哦。
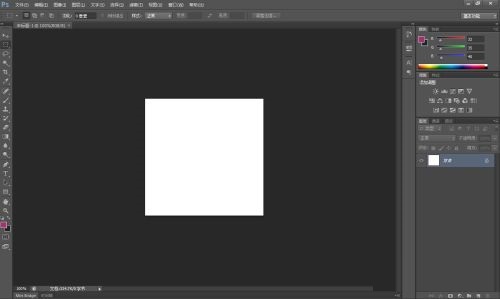
第一步:首先在电脑中打开Photoshop CS6软件,使用“ctrl+n”组合键创建一个画布(如图所示)。
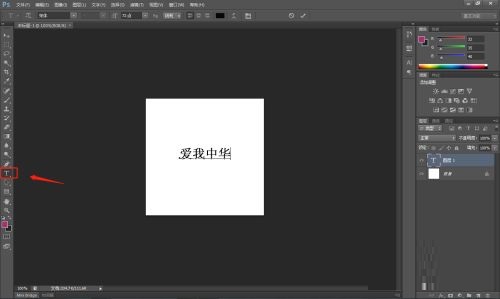
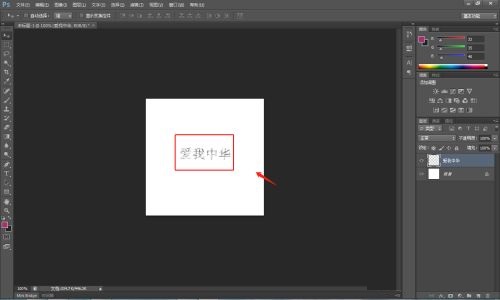
第二步:点击左侧工具栏中的“T”图标,在画布中添加文字(如图所示)。
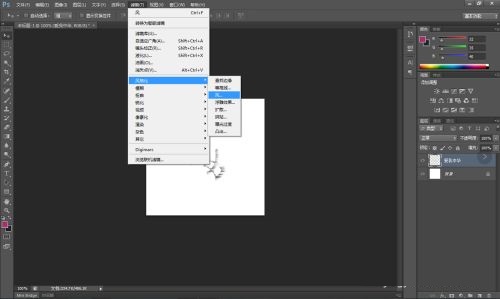
第三步:右键点击画布,在弹出的窗口中点击“栅格化文字”,将图片上的文字删格化处理(如图所示)。

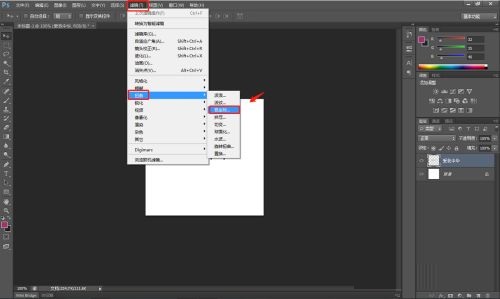
第四步:点击顶部工具栏中的“滤镜”——“扭曲”——“极坐标”,开始对文字图片进行立体处理(如图所示)。
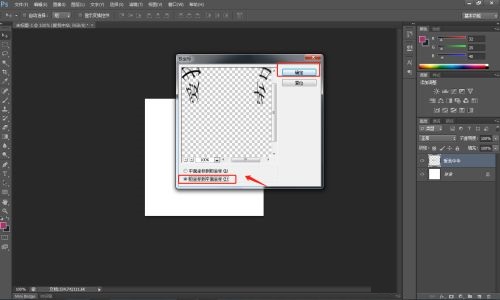
第五步:在弹出的极坐标窗口中点击“极坐标到平面坐标”,然后点击确定(如图所示)。
第六步:点击顶部工具栏中的“滤镜”——“风格化”——“风”,采用这种滤镜效果来给自己增加3D效果(如图所示)。
第七步:点击顶部工具栏中的“滤镜”——“扭曲”——“极坐标”,在极坐标窗口中点击“平面坐标到极坐标”,将图片还原为正常坐标。即可发现图片已经完成立体处理了(如图所示)。
以上就是小编给大家带来的Photoshop CS6如何制作3D立体字效果的全部内容,希望能够帮助到大家哦。