AI里的光晕工具大家熟悉吗?今日小编在这里就专门分享了有关AI使用光晕工具制作发光圆环的操作内容,希望感兴趣的朋友都来共同学习哦。
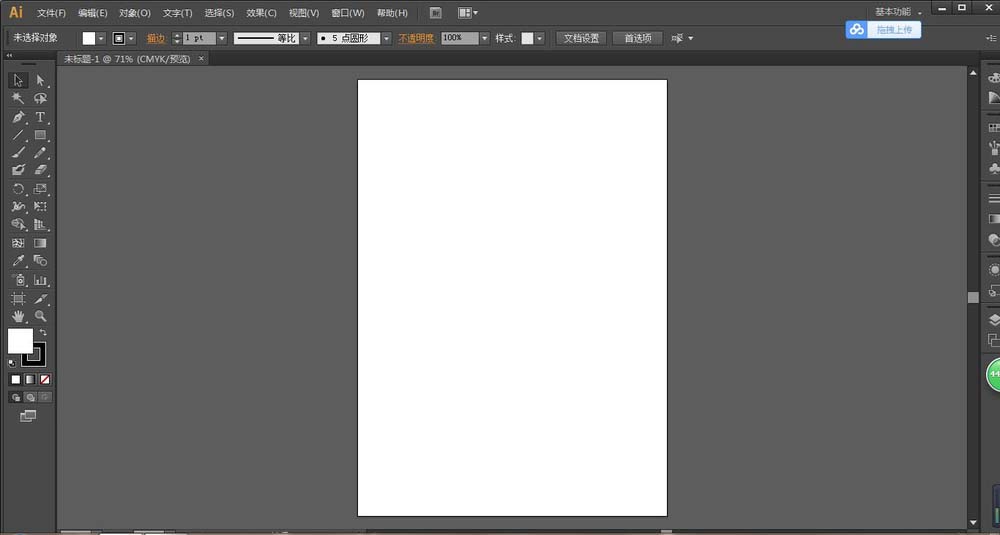
打开AI,执行文件-新建命令,默认A4画板。
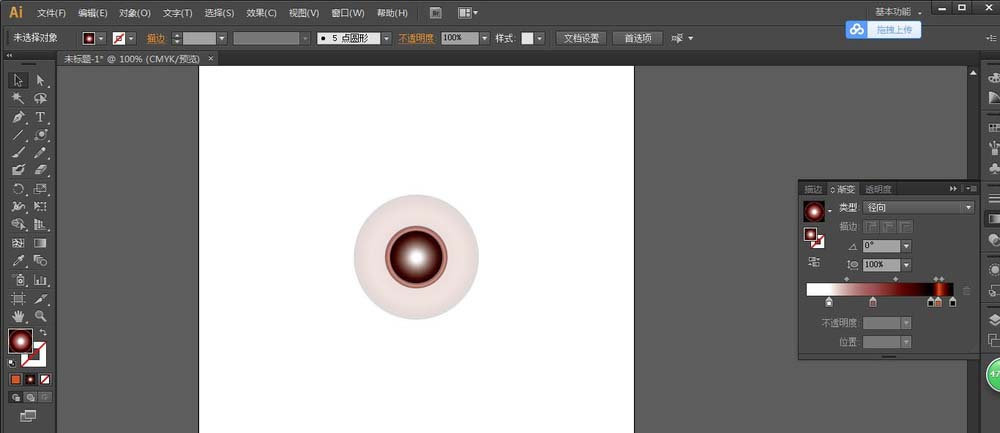
选择工具栏中光晕工具拖动绘制光晕。用选择工具缩小其大小。
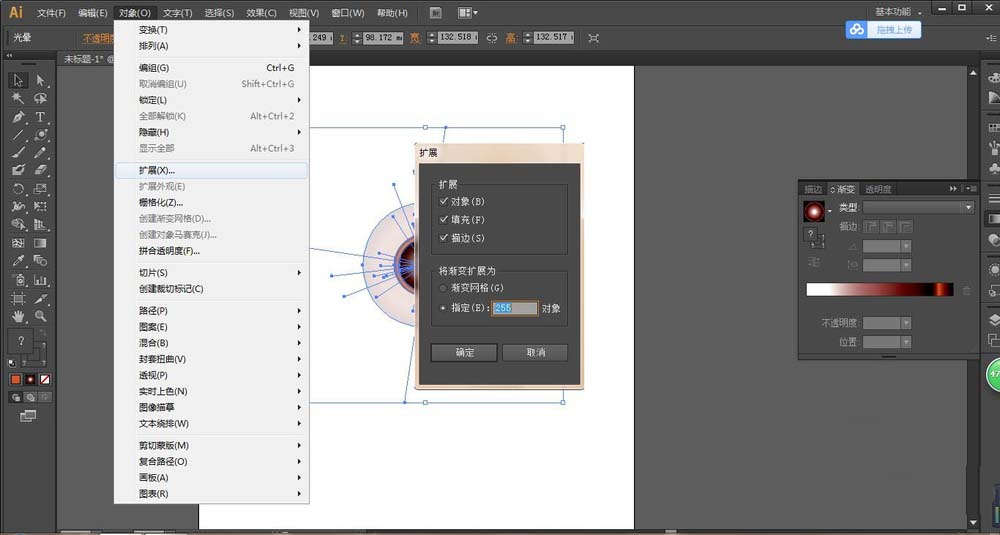
选择图形,执行对象-扩展,勾选填充和描边。单击确定。
选择图形,单击右键,选择取消群组。并删掉多余内容,只留下圆部分。

圆的中间有一个透明渐变,还有就是我们要的渐变环,选择两个图形,执行效果-路径查找器-减去顶层。
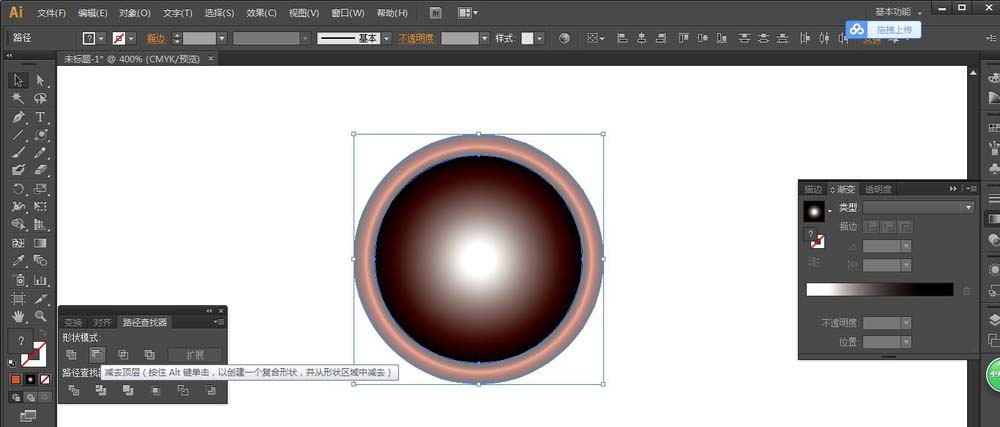
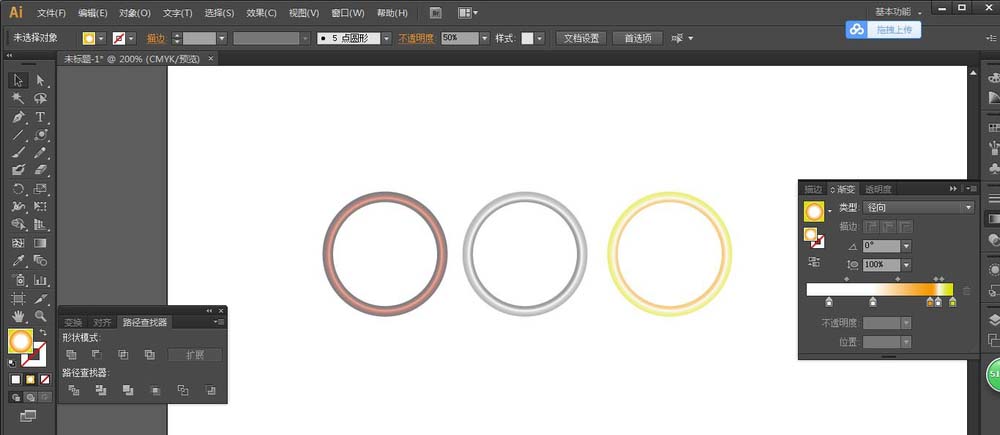
通过以上操作便得到渐变环,可通过修改其渐变色设置其他不同颜色的渐变环。
各位小伙伴们,看完上面的精彩内容,都清楚AI使用光晕工具制作发光圆环的操作内容了吧!