怎么利用图像处理器功能批处理图片大小:
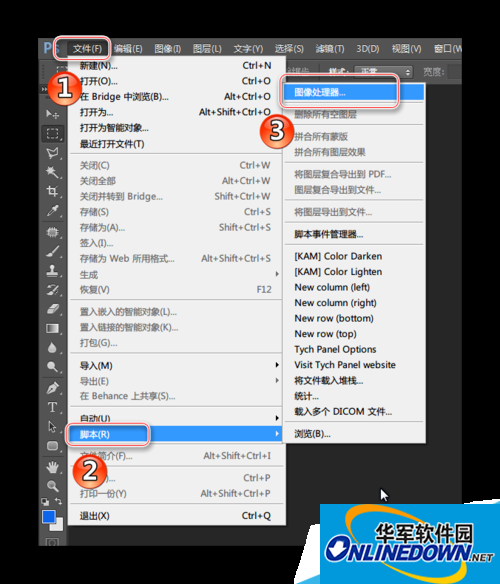
1、打开ps软件,选择文件>脚本>图像处理器,弹出对话框设置参数。
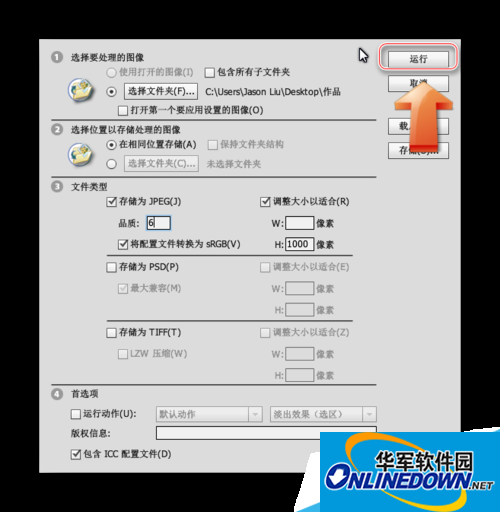
2、在图像处理器设置对话框中,首先点击“选择文件夹”,然后选择需要处理的图片所在的文件夹,点击确定,如图。
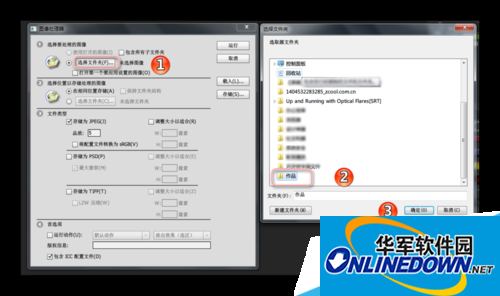
3、在图像处理器设置对话框中的第二个选项,保持默认的“在相同位置存储”就好,如图所示。
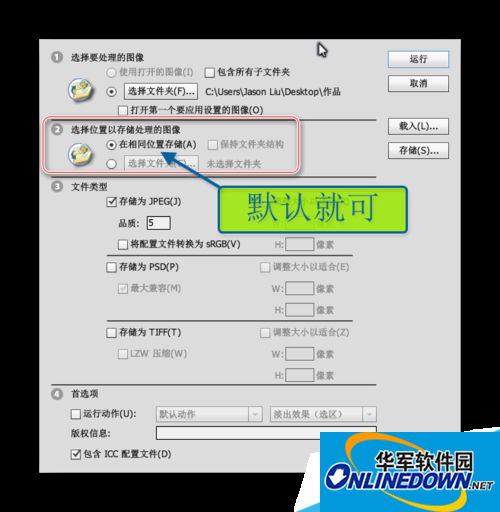
4、在图像处理器设置对话框中,设置文件类型,因为是网上分享勾选存储为jpeg格式,同时勾选“将配置文件转换为sRGB‘,大小调整,填入自己需要修改后的图片大小尺寸,如图。

5、全部设置完成以后,点击右上角运行按钮即可。运行完毕之后,会在原文件夹内发现一个”jpeg“文件夹,里面就是转好的图片了。
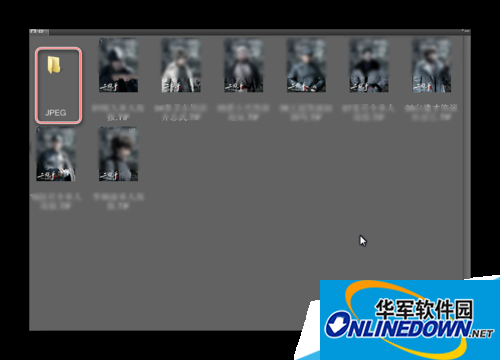
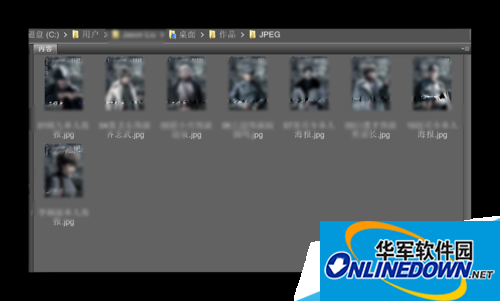
6、图片格式和大小已经转换完成。